如何继续阅读本书并搭建环境
如何继续阅读这本书
从现在开始,我们将最简单的实现一个 Vue.js。
怀着这个心情和目标,我们需要注意以下几点:
项目名称是 chibivue。本书中对 Vue.js 的实现内容统称为 chibivue
正如之前提到的,我们的核心还是“最简化开始并重复(持续)开发”
每个阶段的源代码都包含在本书的附录中,可以在 https://github.com/Ubugeeei/chibivue/tree/main/book/impls 中找到。
书中所有源代码我们不会提供详细解释,请根据需要参考附录。
完整的代码依赖于官方仓库有多少个包。
这也是实现一个自定义库时最常遇到的问题,就是“我需要从哪里开始实现它?我要做到哪种程度才能说明这是一个自定义的库?”
和往常一样,本书中的所有代码也不是完全由自己重新编写的。
这次我会积极使用 Vue.js 源代码所依赖的相关库,例如 Babel 就是其依赖之一。
当然,你也不用过于担心。本书并不需要你拥有非常丰厚的基础知识,我也只会实现必要的一些包和内容,并尽量简化且详细的给出代码解释。
环境搭建
现在,让我们开始搭建代码环境吧!
首先我列出一下我们这次要搭建的环境的内容。
- 运行时: Node.js 18.x
- 开发语言: TypeScript
- 包管理器: pnpm 8.x
- 构建工具: Vite 3.x
Node.js 安装
这部分我相信大家应该都没有问题吧。所以我省略掉了这部分内容。
pnpm 安装
也许平时大家都是使用的 npm 或者 yarn 来进行依赖管理。
但是今天我们需要使用 pnpm,所以请大家也要进行 pnpm 的安装。
它的基本使用命令与 npm 几乎一致。
除了上述内容之外,本书还使用了 ni(一个轻量的包管理器,由 Vue.js 核心团队成员 antfu 开发)。
如果您没有安装过这个包,也请安装。
$ npm i -g @antfu/nini 是可以自动区分当前使用的包管理器的便利工具。
实际上这也是 Vue.js 源码贡献指南中要求使用的一个工具。
https://github.com/vuejs/core/blob/main/.github/contributing.md#scripts
后面,我们将使用 ni 命令来安装依赖和启动开发服务。
创建一个项目
我想尽快开始 ...
接下来的内容,是说明手动创建项目的步骤,实际上我们也准备了构建新项目的工具。
如果您觉得手动创建麻烦的话,可以使用这个工具。
克隆 chibivue
sh$ git clone https://github.com/Ubugeeei/chibivue运行脚本.
请输入您要设置的目录的路径。
$ cd chibivue
$ nr setup ../my-chibivue-project
您可以在任意目录下创建该项目,但是为了方便和统一,从现在开始,项目的根路径会通过 ~ 表示(例如 ~/src/main.ts 等)。
这次,我将 chibivue 的主体内容和实际运行效果演示进行了拆分。 而你在使用 chibivue 时,只需要在 examples 一侧引入 chibivue 并将其和 vite 结合起来。 假设配置如下:
~
|- examples
| |- playground
|
|- packages
|- tsconfig.js
在根路径下我们创建了一个 examples 目录,然后在该目录中通过 playground 来创建项目进行预览。 packages 目录中则是 chibivue 的主体内容,包含相关的 TypeScript 文件。你可以在示例项目中通过 import 进行引用。
以下是它的构建步骤。
搭建项目主体
## 请专门为 chibivue 创建一个目录并导航到其中。(此后将省略此类注释。)
pwd # ~/
pnpm init
ni -D @types/node
mkdir packages
touch packages/index.ts
touch tsconfig.json
tsconfig.json 的内容
{
  "compilerOptions": {
    "target": "ES2020",
    "module": "ES2020",
    "lib": ["DOM"],
    "strict": true,
    "paths": {
      "chibivue": ["./packages"]
    },
    "moduleResolution": "Bundler",
    "allowJs": true,
    "esModuleInterop": true
  },
  "include": ["packages/**/*.ts", "examples/**/**.ts"],
  "exclude": ["node_modules", "dist"]
}
packages/index.ts 的内容
export const helloChibivue = () => {
  console.log("Hello chibivue!");
};
搭建示例项目
pwd # ~/
mkdir examples
cd examples
nlx create-vite

## --------- create vite cli 的基础设置
## Project name: playground
## Select a framework: Vanilla
## Select a variant: TypeScript
删除 Vite Cli 创建的多余的文件和目录
pwd # ~/examples/playground
rm -rf public
rm -rf src # 因为需要使用我们自己编写的内容,所以这部分就不需要了。
mkdir src
touch src/main.ts
src/main.ts 的内容
※ 一旦我们修改了 form 后面的内容(将 vue 修改为 chibivue),就会出现错误。但是问题不大,我们现在开始着手解决它。
import { helloChibivue } from "chibivue";

helloChibivue();
将 index.html 的替换为下面的内容。
<!DOCTYPE html>
<html lang="en">
  <head>
    <meta charset="UTF-8" />
    <meta name="viewport" content="width=device-width, initial-scale=1.0" />
    <title>chibivue</title>
  </head>

  <body>
    <div id="app"></div>
    <script type="module" src="/src/main.ts"></script>
  </body>
</html>
然后,我们还需要创建 Vite 对应的配置文件并设置别名,以便后面直接使用 chibivue 的内容。
pwd # ~/examples/playground
touch vite.config.js
vite.config.ts 的内容
import path from 'node:path'
import { fileURLToPath } from 'node:url'
import { defineConfig } from 'vite'

const dirname = path.dirname(fileURLToPath(new URL(import.meta.url)))
export default defineConfig({
  resolve: {
    alias: {
      chibivue: path.resolve(dirname, '../../packages'),
    },
  },
})
当然,这时还需要更新 tsconfig.json 中的内容。
{
  "compilerOptions": {
    "target": "ESNext",
    "useDefineForClassFields": true,
    "module": "ESNext",
    "lib": [
      "ESNext",
      "DOM"
    ],
    "moduleResolution": "Node",
    "strict": true,
    "resolveJsonModule": true,
    "isolatedModules": true,
    "esModuleInterop": true,
    "noEmit": true,
    "noUnusedLocals": true,
    "noUnusedParameters": true,
    "noImplicitReturns": true,
    "skipLibCheck": true,
    "paths": {
      "chibivue": [
        "../../packages"
      ],
    }
  },
  "include": [
    "src"
  ]
}
最后,我们可以在 chibivue 项目的根路径下的 package.json 中编写启动 playground 的命令并启动这个示例项目。
~/package.json 需要添加的内容
{
  "scripts": {
    "dev": "cd examples/playground && pnpm i && pnpm run dev"
  }
}pwd # ~
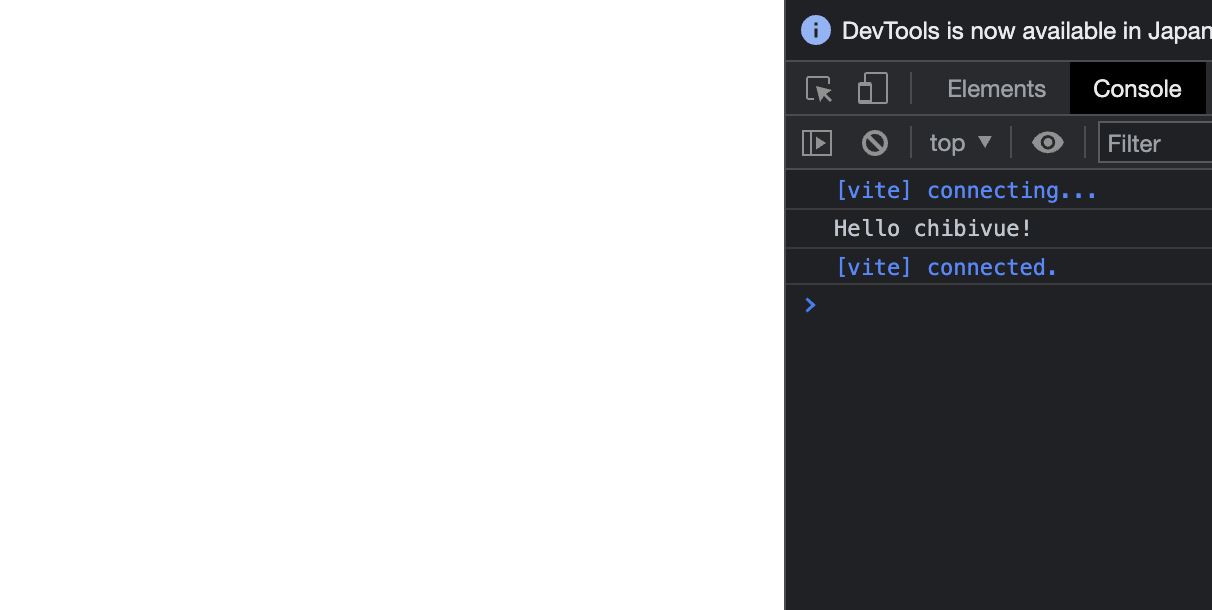
nr dev访问使用此命令启动的开发者服务地址,如果显示下面的消息,则表示我们已经将示例项目配置完成了!
到目前为止的所有的源代码: chibivue (GitHub)